在日常的软件开发过程中,我们有时候需要向团队新成员或者其他团队分享正在实践的 Git 分支策略,图表或者文档可以完成这个工作,但是通过图表和文档会浪费开发人员宝贵的时间,并且很快就会过时。Mermaid支持通过编写代码的方式快速创建出多种图表。本文介绍如何使用Mermaid代码快速生成表达GIT分支开发策略。
一个简单例子
以下是一个遵循GitHub Flow模型的实例,我们将通过mermaid代码来表达。
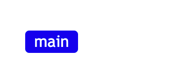
1、gitGraph声明创建GIT图,默认将创建一个main分支:
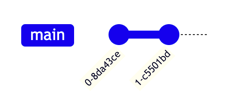
2、在main分支上提交2次代码:
1
2
3
| gitGraph
commit
commit
|
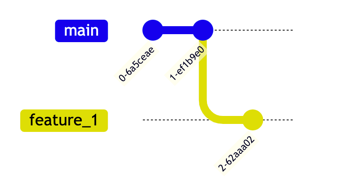
3、从main分支创建出分支feature_1,切换到feature_1,提交1次代码:
1
2
3
4
5
| gitGraph
...
branch feature_1
checkout feature_1
commit
|
4、合并feature_1分支代码到main分支,打上tag v1.0.0:
1
2
3
4
| gitGraph
...
checkout main
merge feature_1 tag:"v1.0.0"
|

表达Git Flow模型
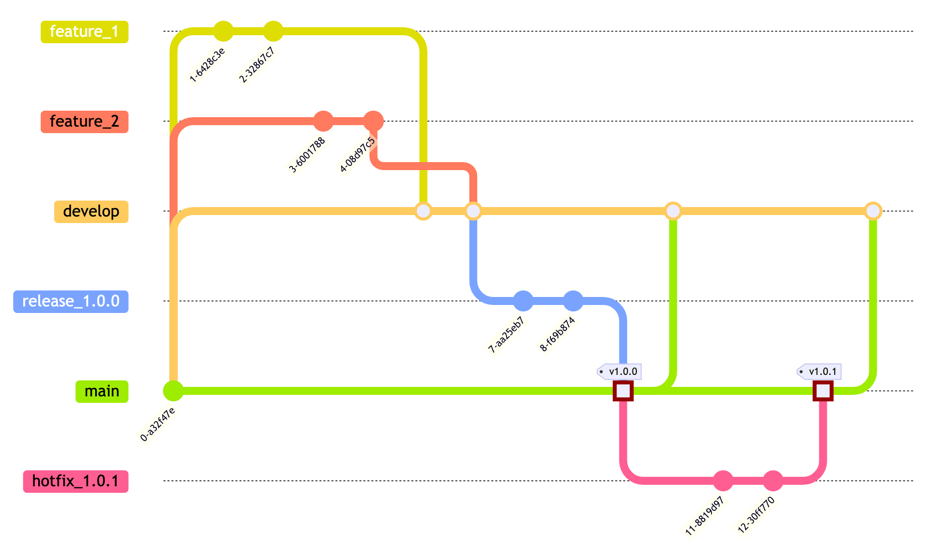
本例完整代码:
 1
 2
 3
 4
 5
 6
 7
 8
 9
10
11
12
13
14
15
16
17
18
19
20
21
22
23
24
25
26
27
28
29
30
31
32
33
34
35
36
37
38
39
40
41
42
43
| %%{init: { 'logLevel': 'debug', 'gitGraph': {'mainBranchOrder': 10}, 'theme': 'default' , 'themeVariables': {
'git0': '#dede04',
'git1': '#ff7a5e',
'git2': '#ffcb5e',
'git3': '#78a3ff',
'git4': '#9eec00',
'git5': '#ff5e92',
'git6': '#cb5eff',
'git7': '#00ecec'
} } }%%
gitGraph
commit
branch develop order: 8
checkout develop
branch feature_1 order: 2
branch feature_2 order: 3
checkout feature_1
commit
commit
checkout feature_2
commit
commit
checkout develop
merge feature_1
merge feature_2
checkout develop
branch release_1.0.0 order: 9
checkout release_1.0.0
commit
commit
checkout main
merge release_1.0.0 tag:"v1.0.0" type: HIGHLIGHT
checkout develop
merge main
checkout main
branch hotfix_1.0.1 order: 17
checkout hotfix_1.0.1
commit
commit
checkout main
merge hotfix_1.0.1 tag:"v1.0.1" type: HIGHLIGHT
checkout develop
merge main
|
如何渲染出图?
说了这么多,关键问题来了,如何渲染出图片呢?主要以下几种方式:
- 在线网站,如https://mermaid.live
- Visual Studio Code,安装mermaid editor插件
- Jetbrains系列产品,也支持安装mermaid插件,如Idea, Rider, WebStorm等等